
Before & After
Real surfaces.
Visible changes.
Five genuine before-and-after repairs supplied by Master Revive. Compare the affected area and the result, then use your own photographs to start a conversation.

 your photos →
How to read the examples
One repair. Two views.
Before
Find the affected area
Look for the chip, crack or scratch named in the caption. Each photograph was supplied by Master Revive.
After
Compare the same surface
Match the surrounding fixture as well as the damage. Camera angles can differ, so the labels keep each confirmed pair together.
These examples show particular repairs. Your material and damage need their own discussion; someone else’s photograph cannot confirm your result.
Bathroom · basin edge
A chipped rim. The same basin.
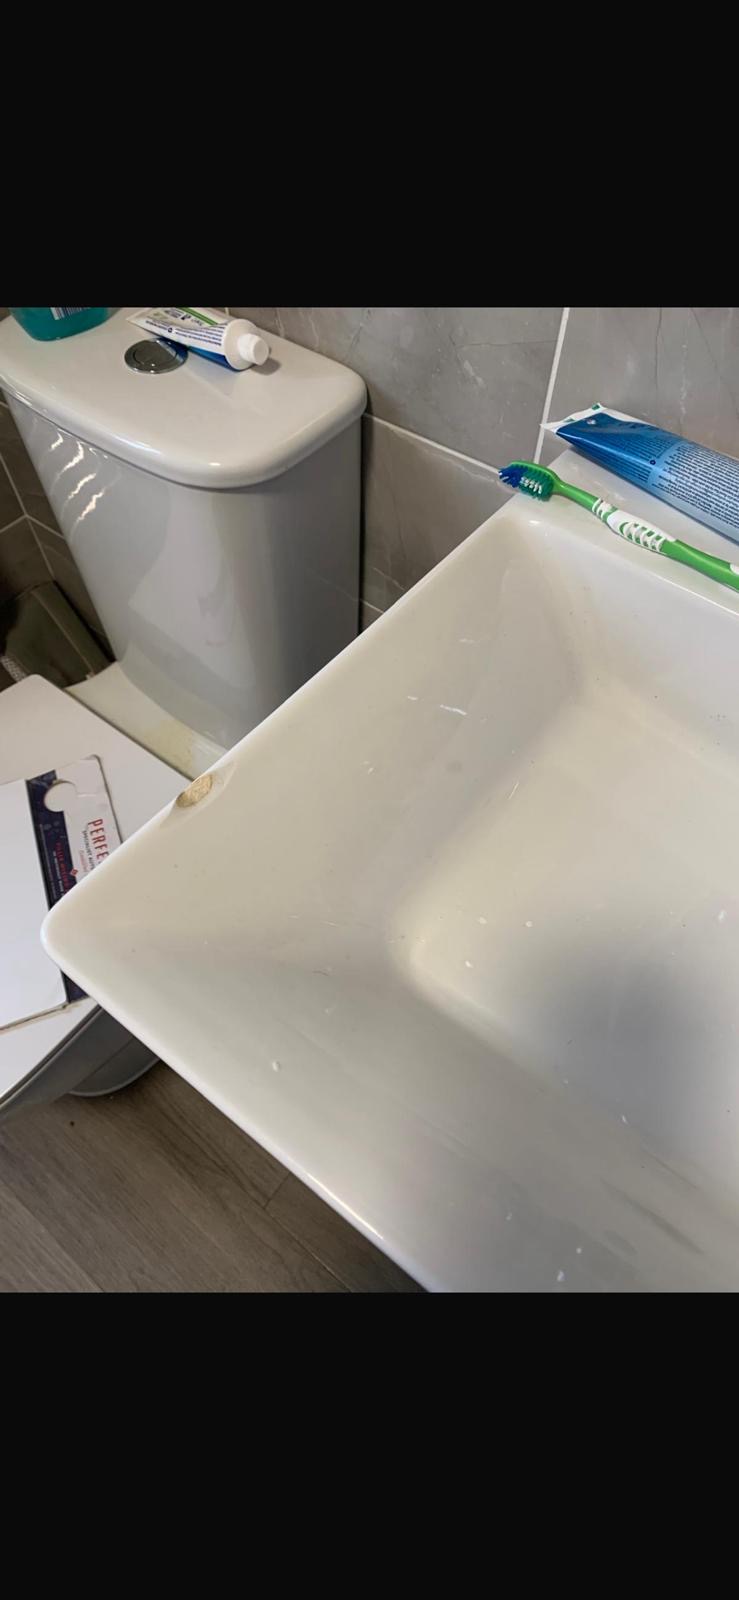
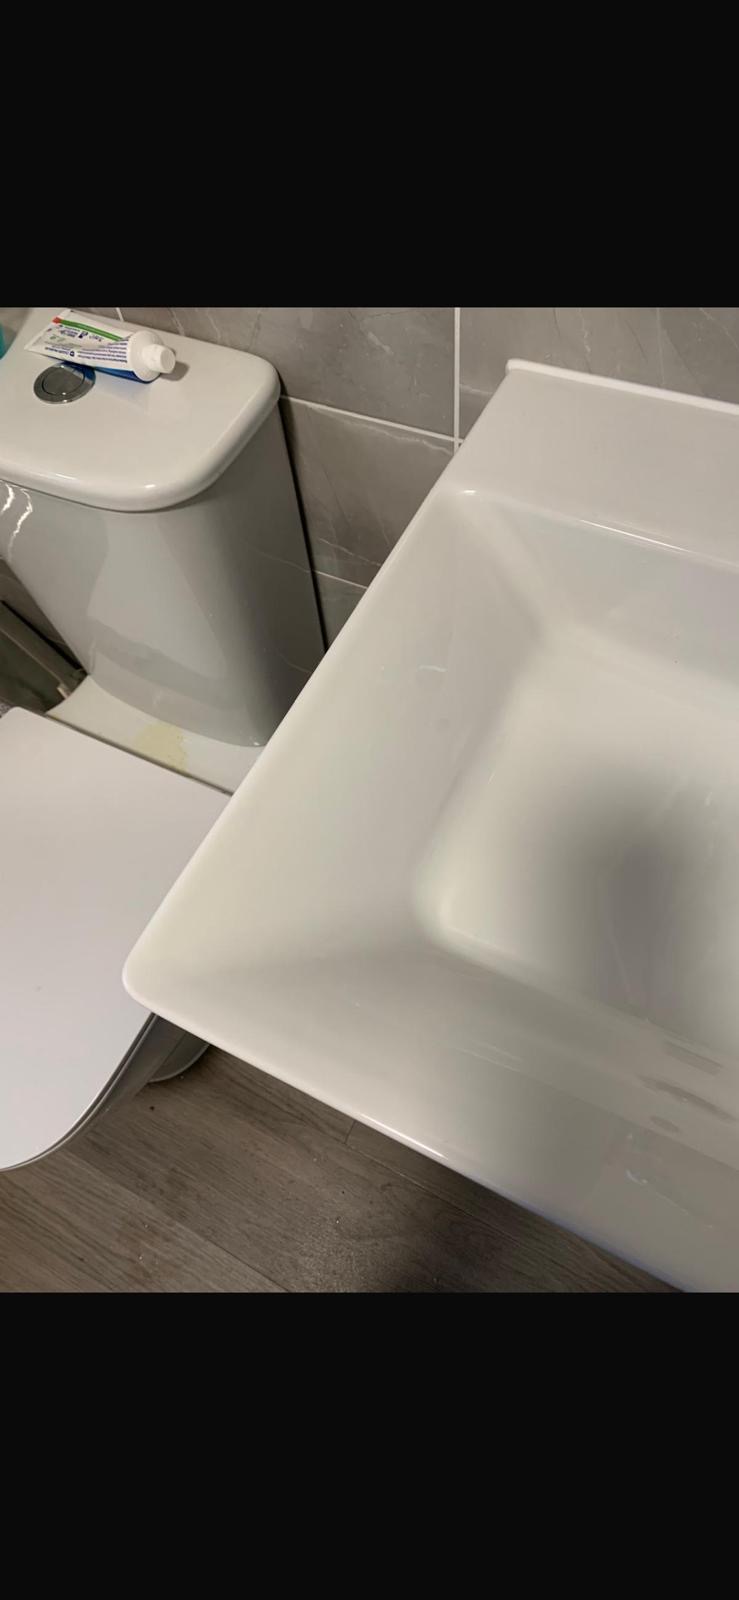
The edge chip is visible in the before photograph. The after photograph shows the same basin and surrounding bathroom. This pair focuses on a local damaged area of the fixture.
Worktop · stone edge
A coin for scale. A repaired edge.
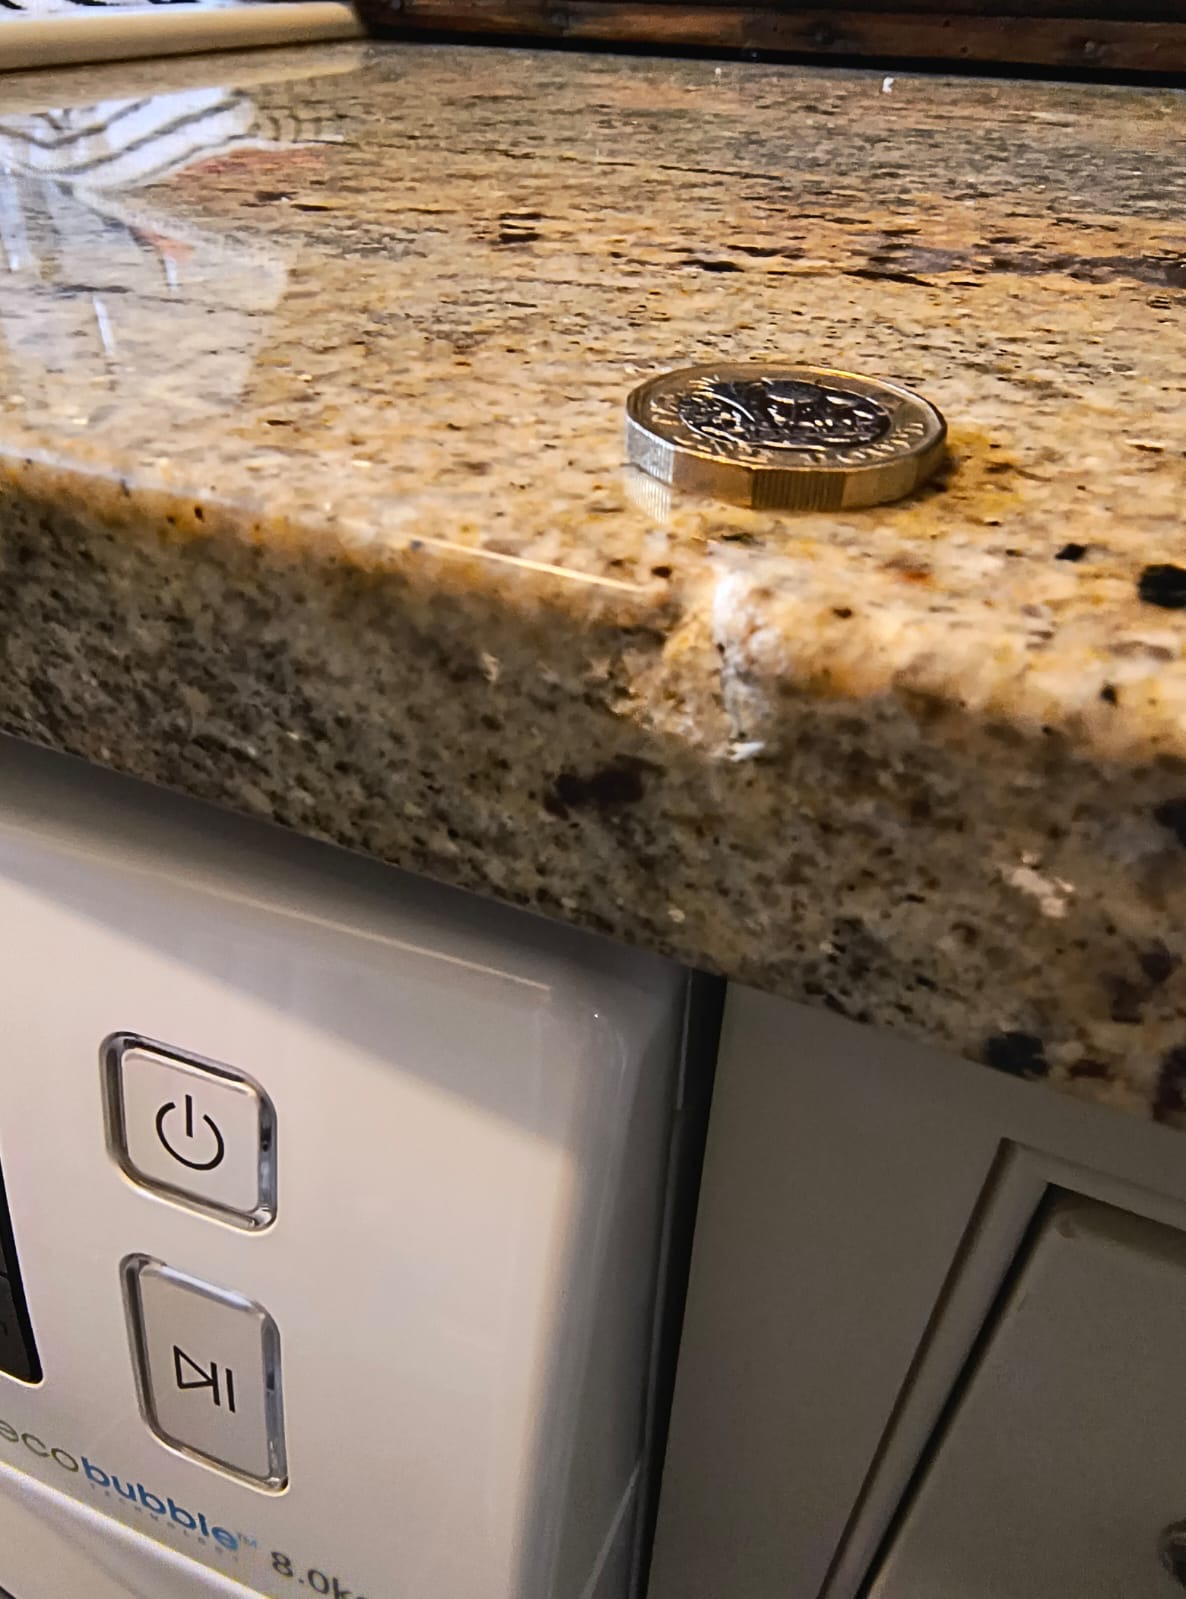
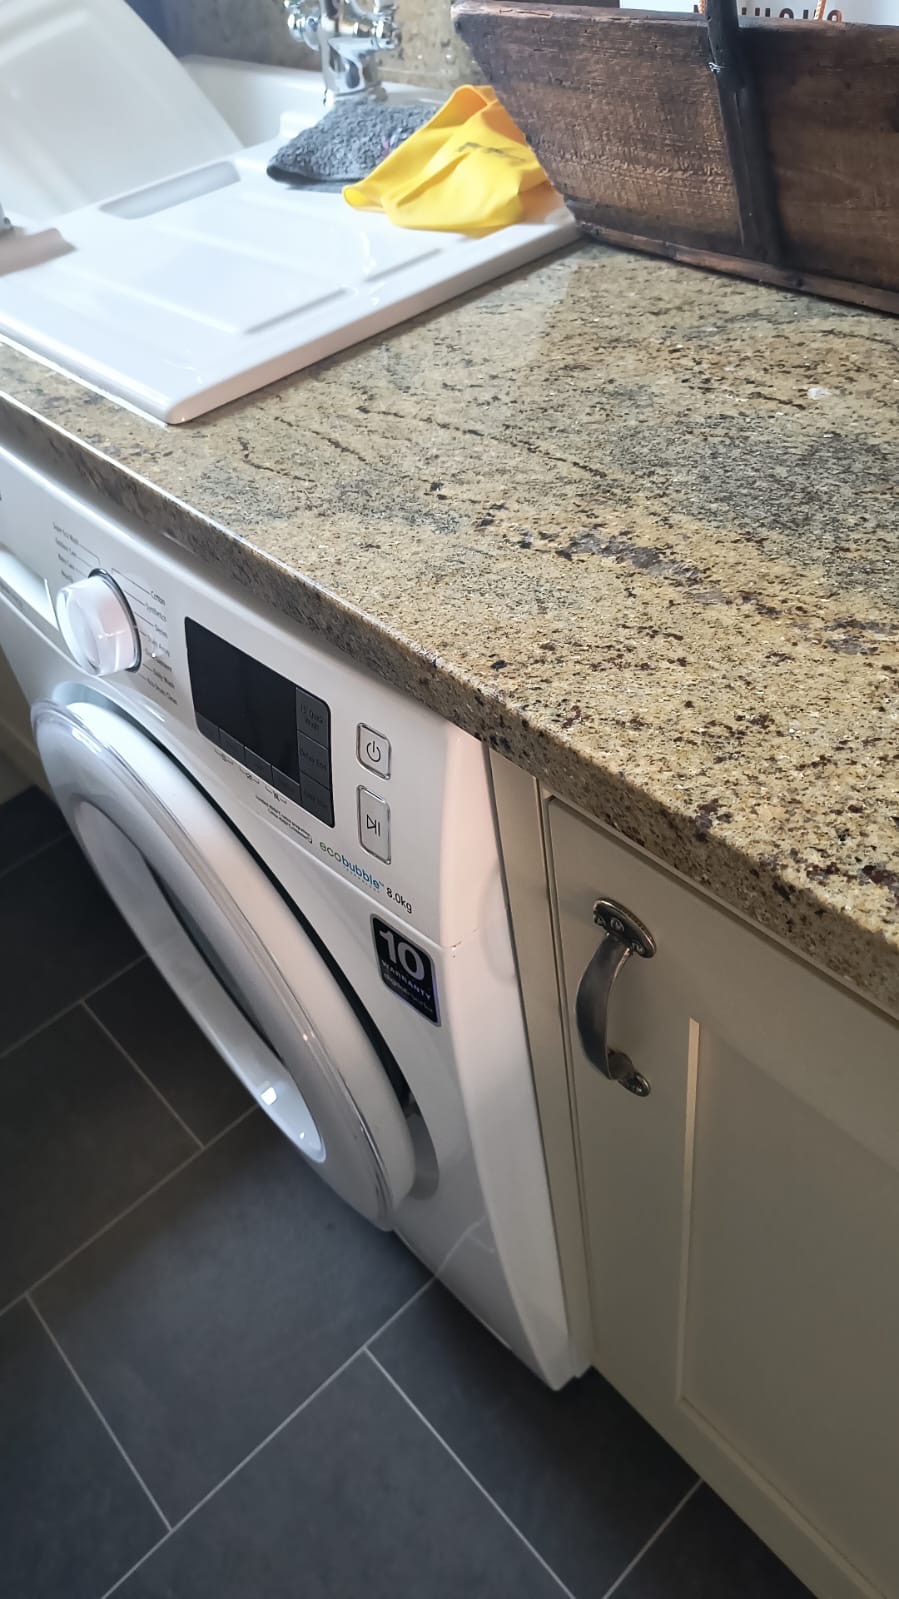
The £1 coin provides a size reference beside the damage. The wider after photograph shows the worktop edge above the washing machine, keeping the repair in its kitchen context.
Bathroom · basin surface
Cracks on the surface. A repaired basin.
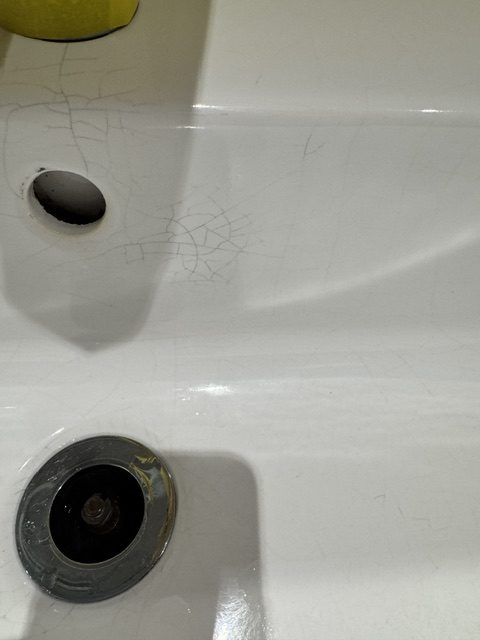
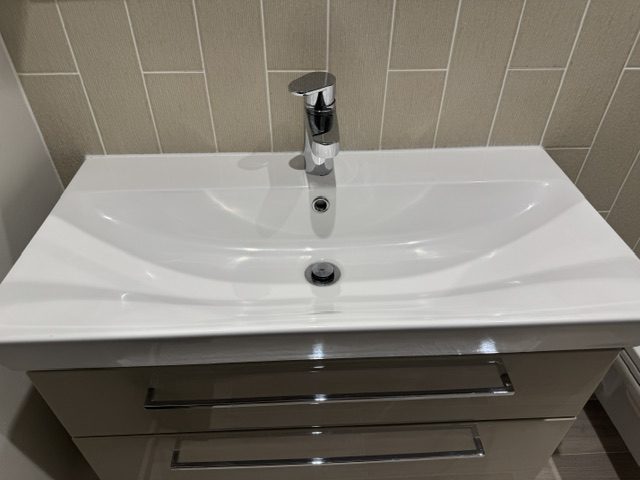
The before view shows cracks on the basin surface. The after view is wider, showing the basin and vanity. These are the confirmed two states of the supplied example.
Threshold · scratches
Marks on a dark threshold.
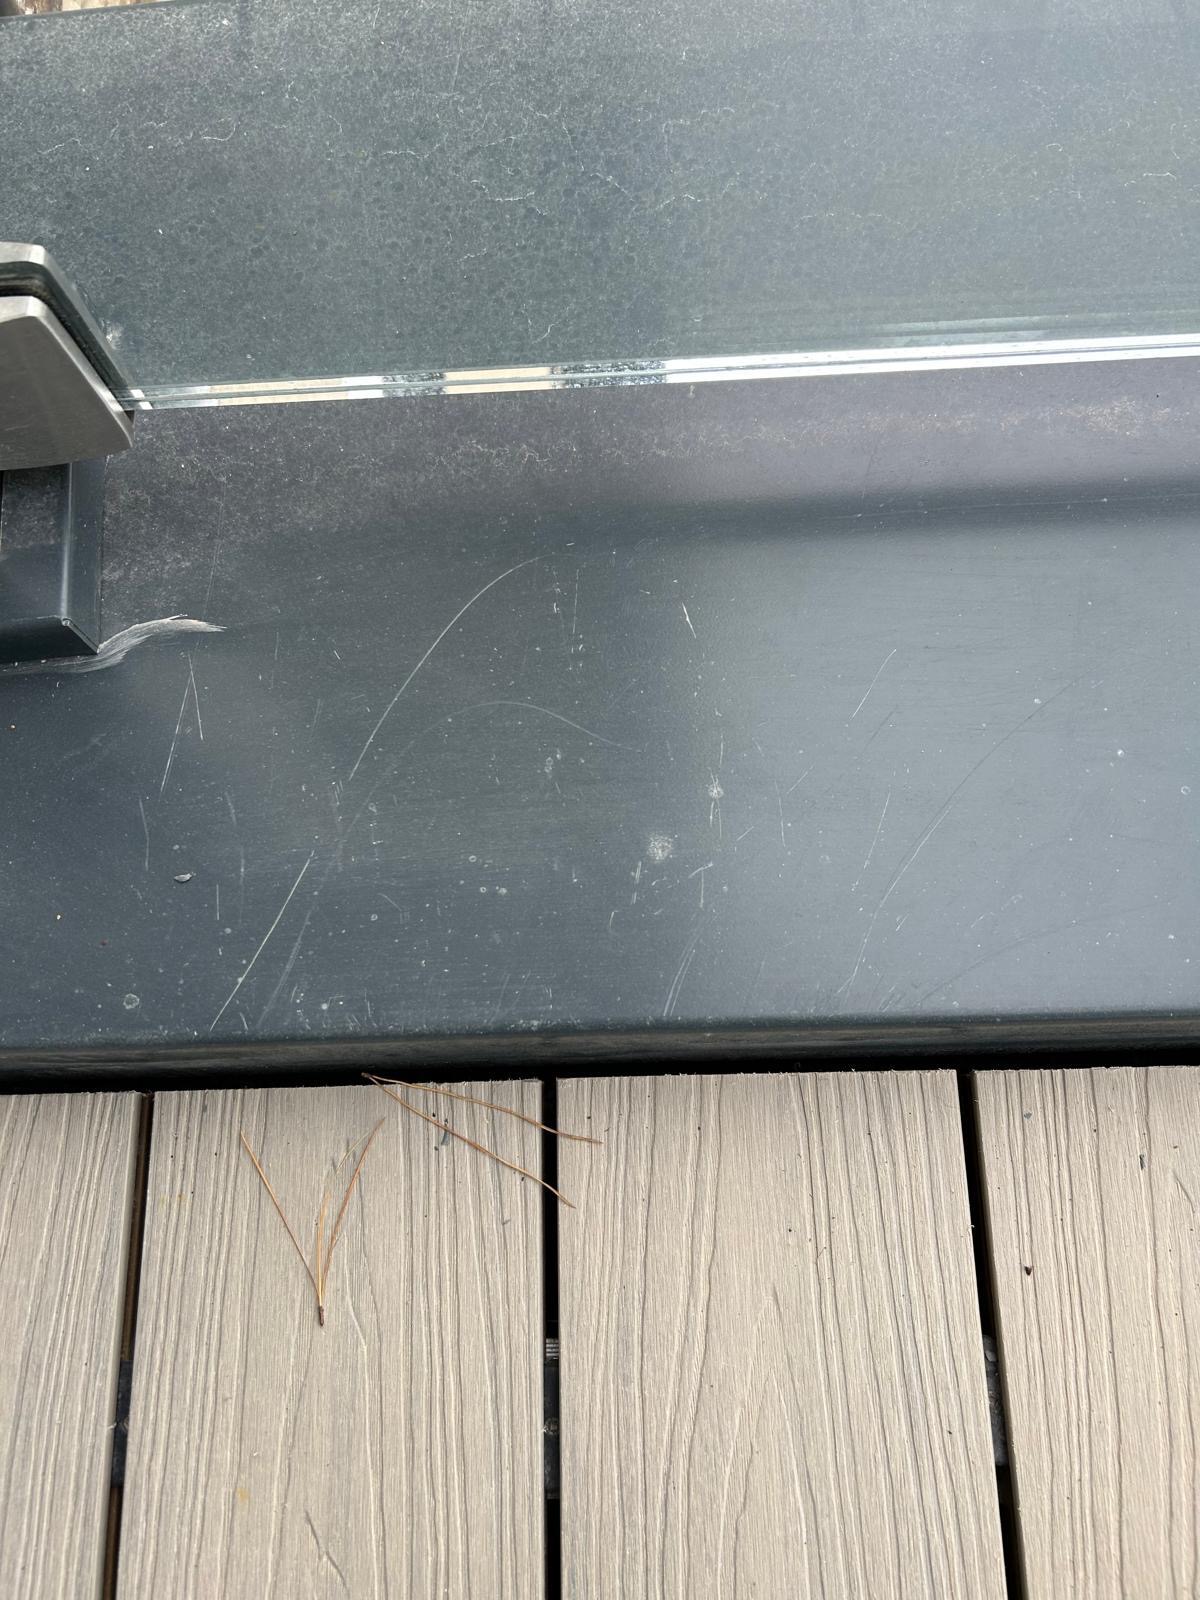

This pair shows scratches on a dark threshold and the supplied after-repair view. Compare the marked area in the close views, then look at the surrounding surface to keep the result in context.
PVCu · patio-door frame
The frame, close up and in context.
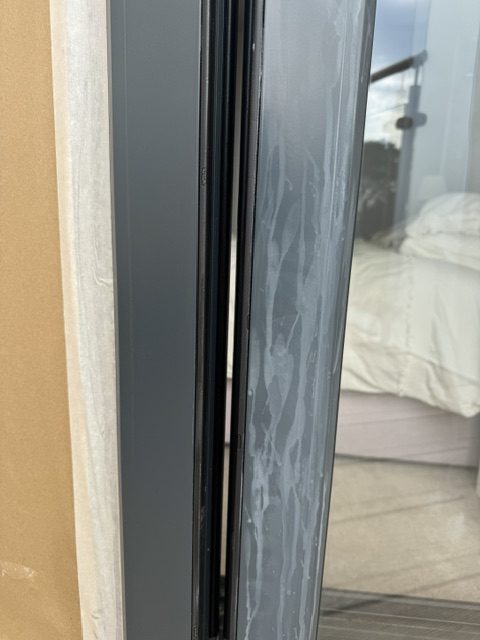
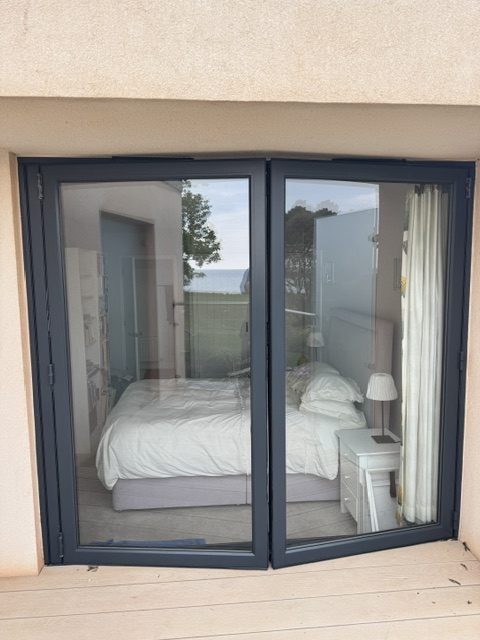
The before photograph concentrates on the marked frame. The after photograph is taken from further away and shows the frame around the doors. Both belong to the confirmed repair pair.
From these examples to your surface
Have damage you want us to look at?
Send photographs of your surface so we can assess the material and damage.